
Building a retaining wall is often the most physically demanding task in landscaping. If you're facing a wall over 10 feet long or two feet high, a mini excavator transforms the project from a tedious chore into a precise engineering feat.
Pre-Construction: Before the Engine Starts
🛡️ The 4-Foot Rule
In most jurisdictions, any structure taller than 3 or 4 feet requires a permit and must be designed by a structural engineer.
📍 Locate Underground Utilities
Before putting the bucket in the ground, you must have underground utility lines checked. Hitting a line can be fatal. Most regions offer a free service (Yellow=Gas, Red=Electric, Blue=Water).
⚠️ Know Your Soil
If you dig into heavy, wet clay, you have "expansive soil." Your drainage strategy becomes the most critical part of your build.
Utility marks are not 100% precise. Most laws require you to "hand-dig" within 18–24 inches of either side of a marked line.
Choosing Your Machine
For residential retaining walls, a mini excavator with 1 to 3.5 tons is ideal.
Zero Tail Swing
Ensures the back of the machine doesn't swing out and smash into your siding.
The Thumb Attachment
A hydraulic thumb allows you to pick up heavy blocks like a giant hand.

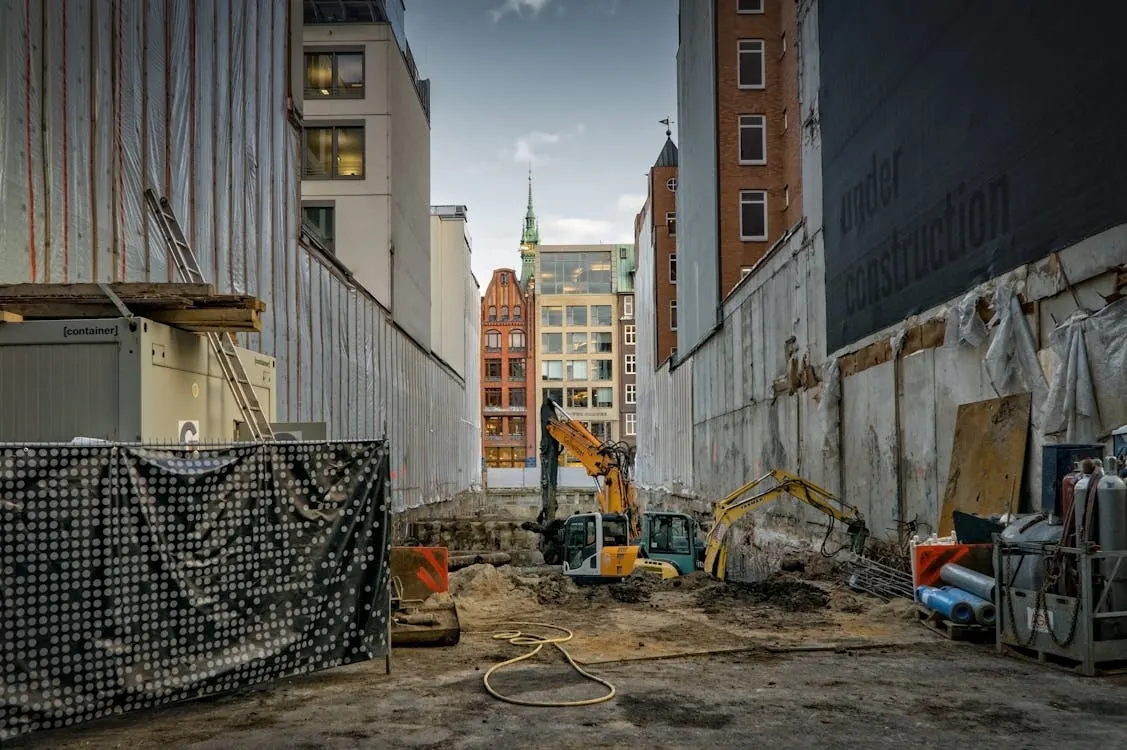
Mini excavators excel in confined urban spaces
Phase 1: Excavation and Embedment
Bench-Cutting
On steep slopes, cut "steps" or benches into the hill to relieve pressure.
The Trench
Dig approximately 12 inches wider than the block. The extra space is for drainage stone.
Embedment
At least one full course (6–8 inches) should be buried below finished grade. This "key" prevents the bottom from kicking out.
Phase 2: The First Course is Foundation
Your wall is only as good as the ground it sits on. Add 4-6 inches of road base (crusher run) and compact until hard.
Phase 3: Dealing with Water
Water is the silent killer of retaining walls. It's not the dirt that knocks walls over—it's the weight of the water trapped behind the dirt.
Phase 4: Stacking and Backfilling
Most modern blocks have a lip that creates a "batter" leaning back into the hill.
Backfilling Best Practices:
The Finish
Remember that dirt swells—approximately 30% more space. Have a plan for that extra dirt pile before you start.
A well-built retaining wall is an investment that adds both functionality and value to your property.
"The foundation determines everything—spend the time getting it right."
Ready to start? Browse our mini excavator range and attachments.